Moving and assessing Oracle application code to Postgres using Swordfish
Drive the Swordfish web UI through a full Oracle to Postgres assessment of the HR demo: read the grade, find the critical PL/SQL findings, turn 336 findings into a plan.
Oracle migrations have a reputation, and it’s earned. Not because the data won’t move (it will, in a weekend) but because Oracle spent forty years piling up syntax and behavior that has no clean Postgres equivalent. PL/SQL packages. Autonomous transactions. A type system with strong opinions. The schema is the easy 20%. The PL/SQL and the application code wrapped around it are where the project actually lives or dies.
This walkthrough drives the Swordfish web UI through a full Oracle to Postgres assessment of the built-in HR demo: an Oracle HR schema with packages, triggers, and stored procedures, scanned live. We’ll go tab by tab. What the grade actually means, where the 5 critical findings hide, and how to turn 336 raw findings into a plan a developer can execute on Monday.
One thing to watch if you target EDB Postgres Advanced Server: read the EPAS notes as you go. A good chunk of the scary Oracle-isms are a no-op on EPAS, and that changes your effort math before you write a single line of conversion code.
Prerequisites
Start the Swordfish backend and frontend (the README has the full setup):
# Backend (SQLite mode, no external DB required)
cd backend
DB_MODE=sqlite .venv/bin/python -m uvicorn app.main:app --host 127.0.0.1 --port 8009 --reload

# Worker (separate terminal)
cd backend
DB_MODE=sqlite .venv/bin/python -m app.worker

# Frontend
cd frontend
npm run dev
Then open http://localhost:5173.
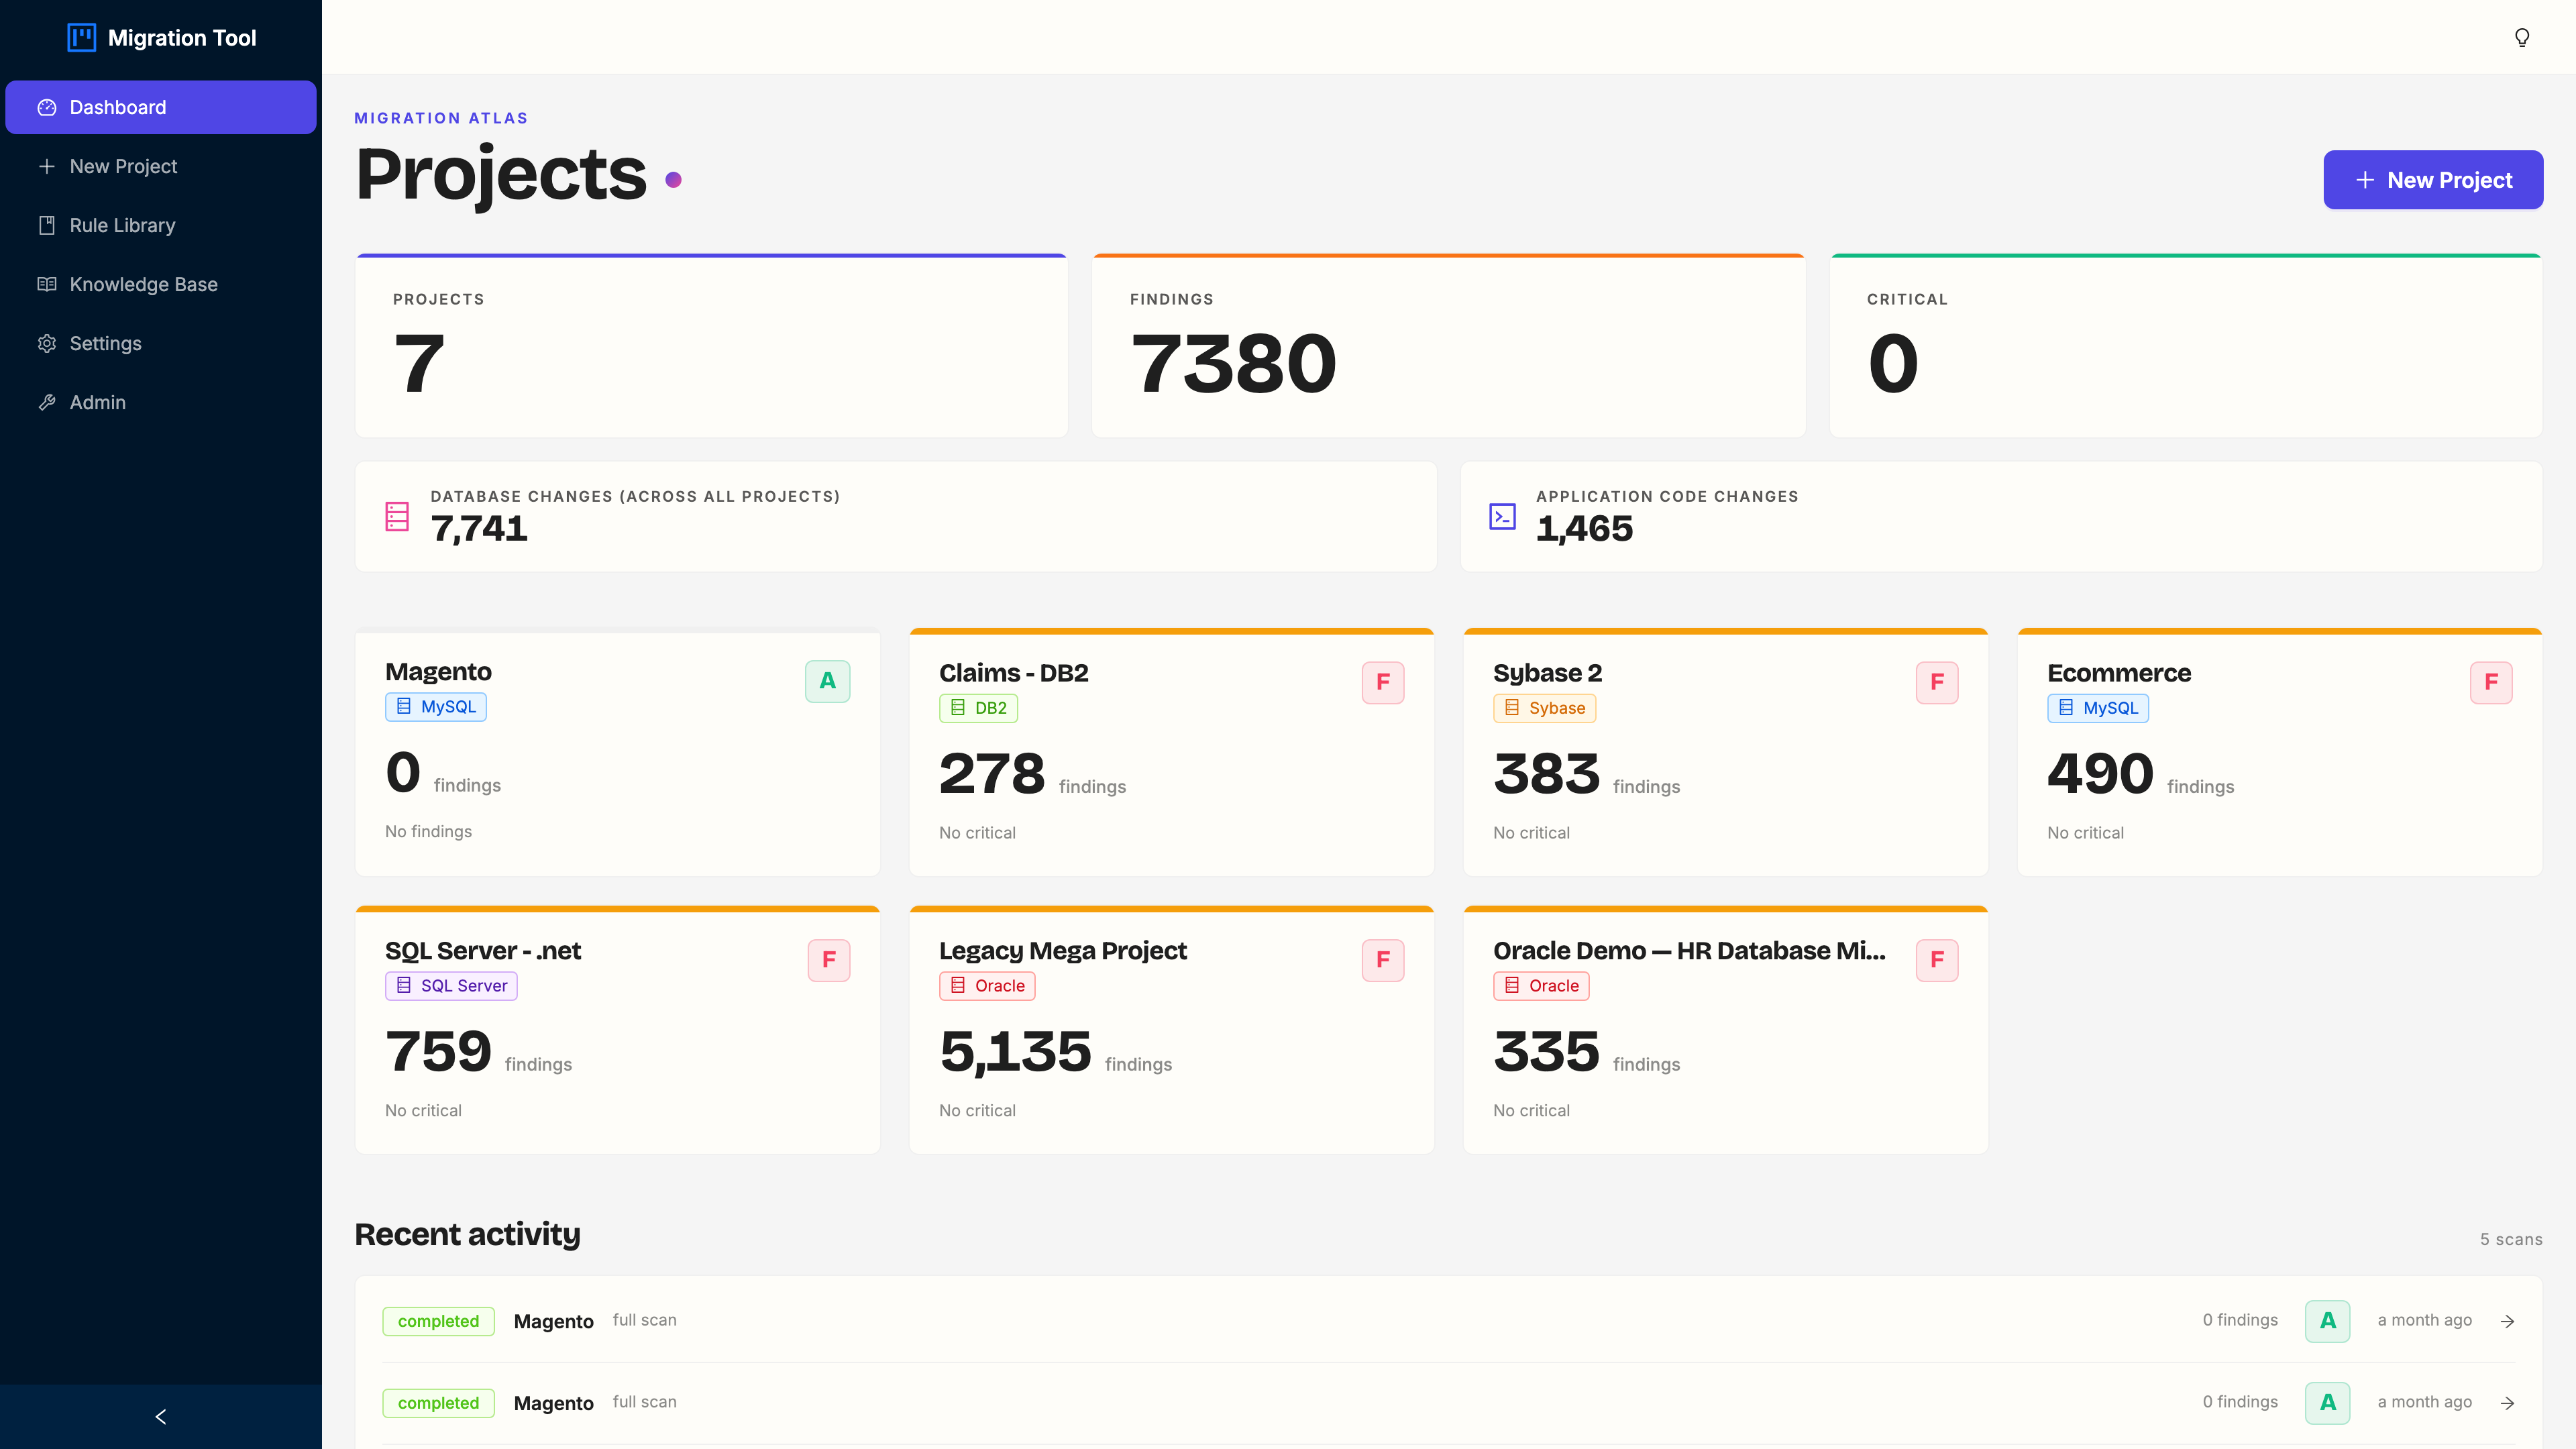
Step 1: Dashboard
The dashboard lists every migration project. Each card shows the name, source database type, and when it was last assessed.
First time through? Click Load Demo. It seeds the Oracle HR demo project and kicks off a scan in the background, so you have something real to poke at in about a minute.
What you can do here:
- Click a project card to open it
- Click + New Project in the sidebar to start a fresh assessment
- Check Recent Scans (under the cards) for the last five runs with their finish time and finding count
The demo project is named Oracle Demo: HR Database Migration. Click its card.
Step 2: Project Summary
Opening the project drops you on the Summary tab: a one-screen health report for the whole migration. This is the screen you show a manager when they ask “how bad is it.”
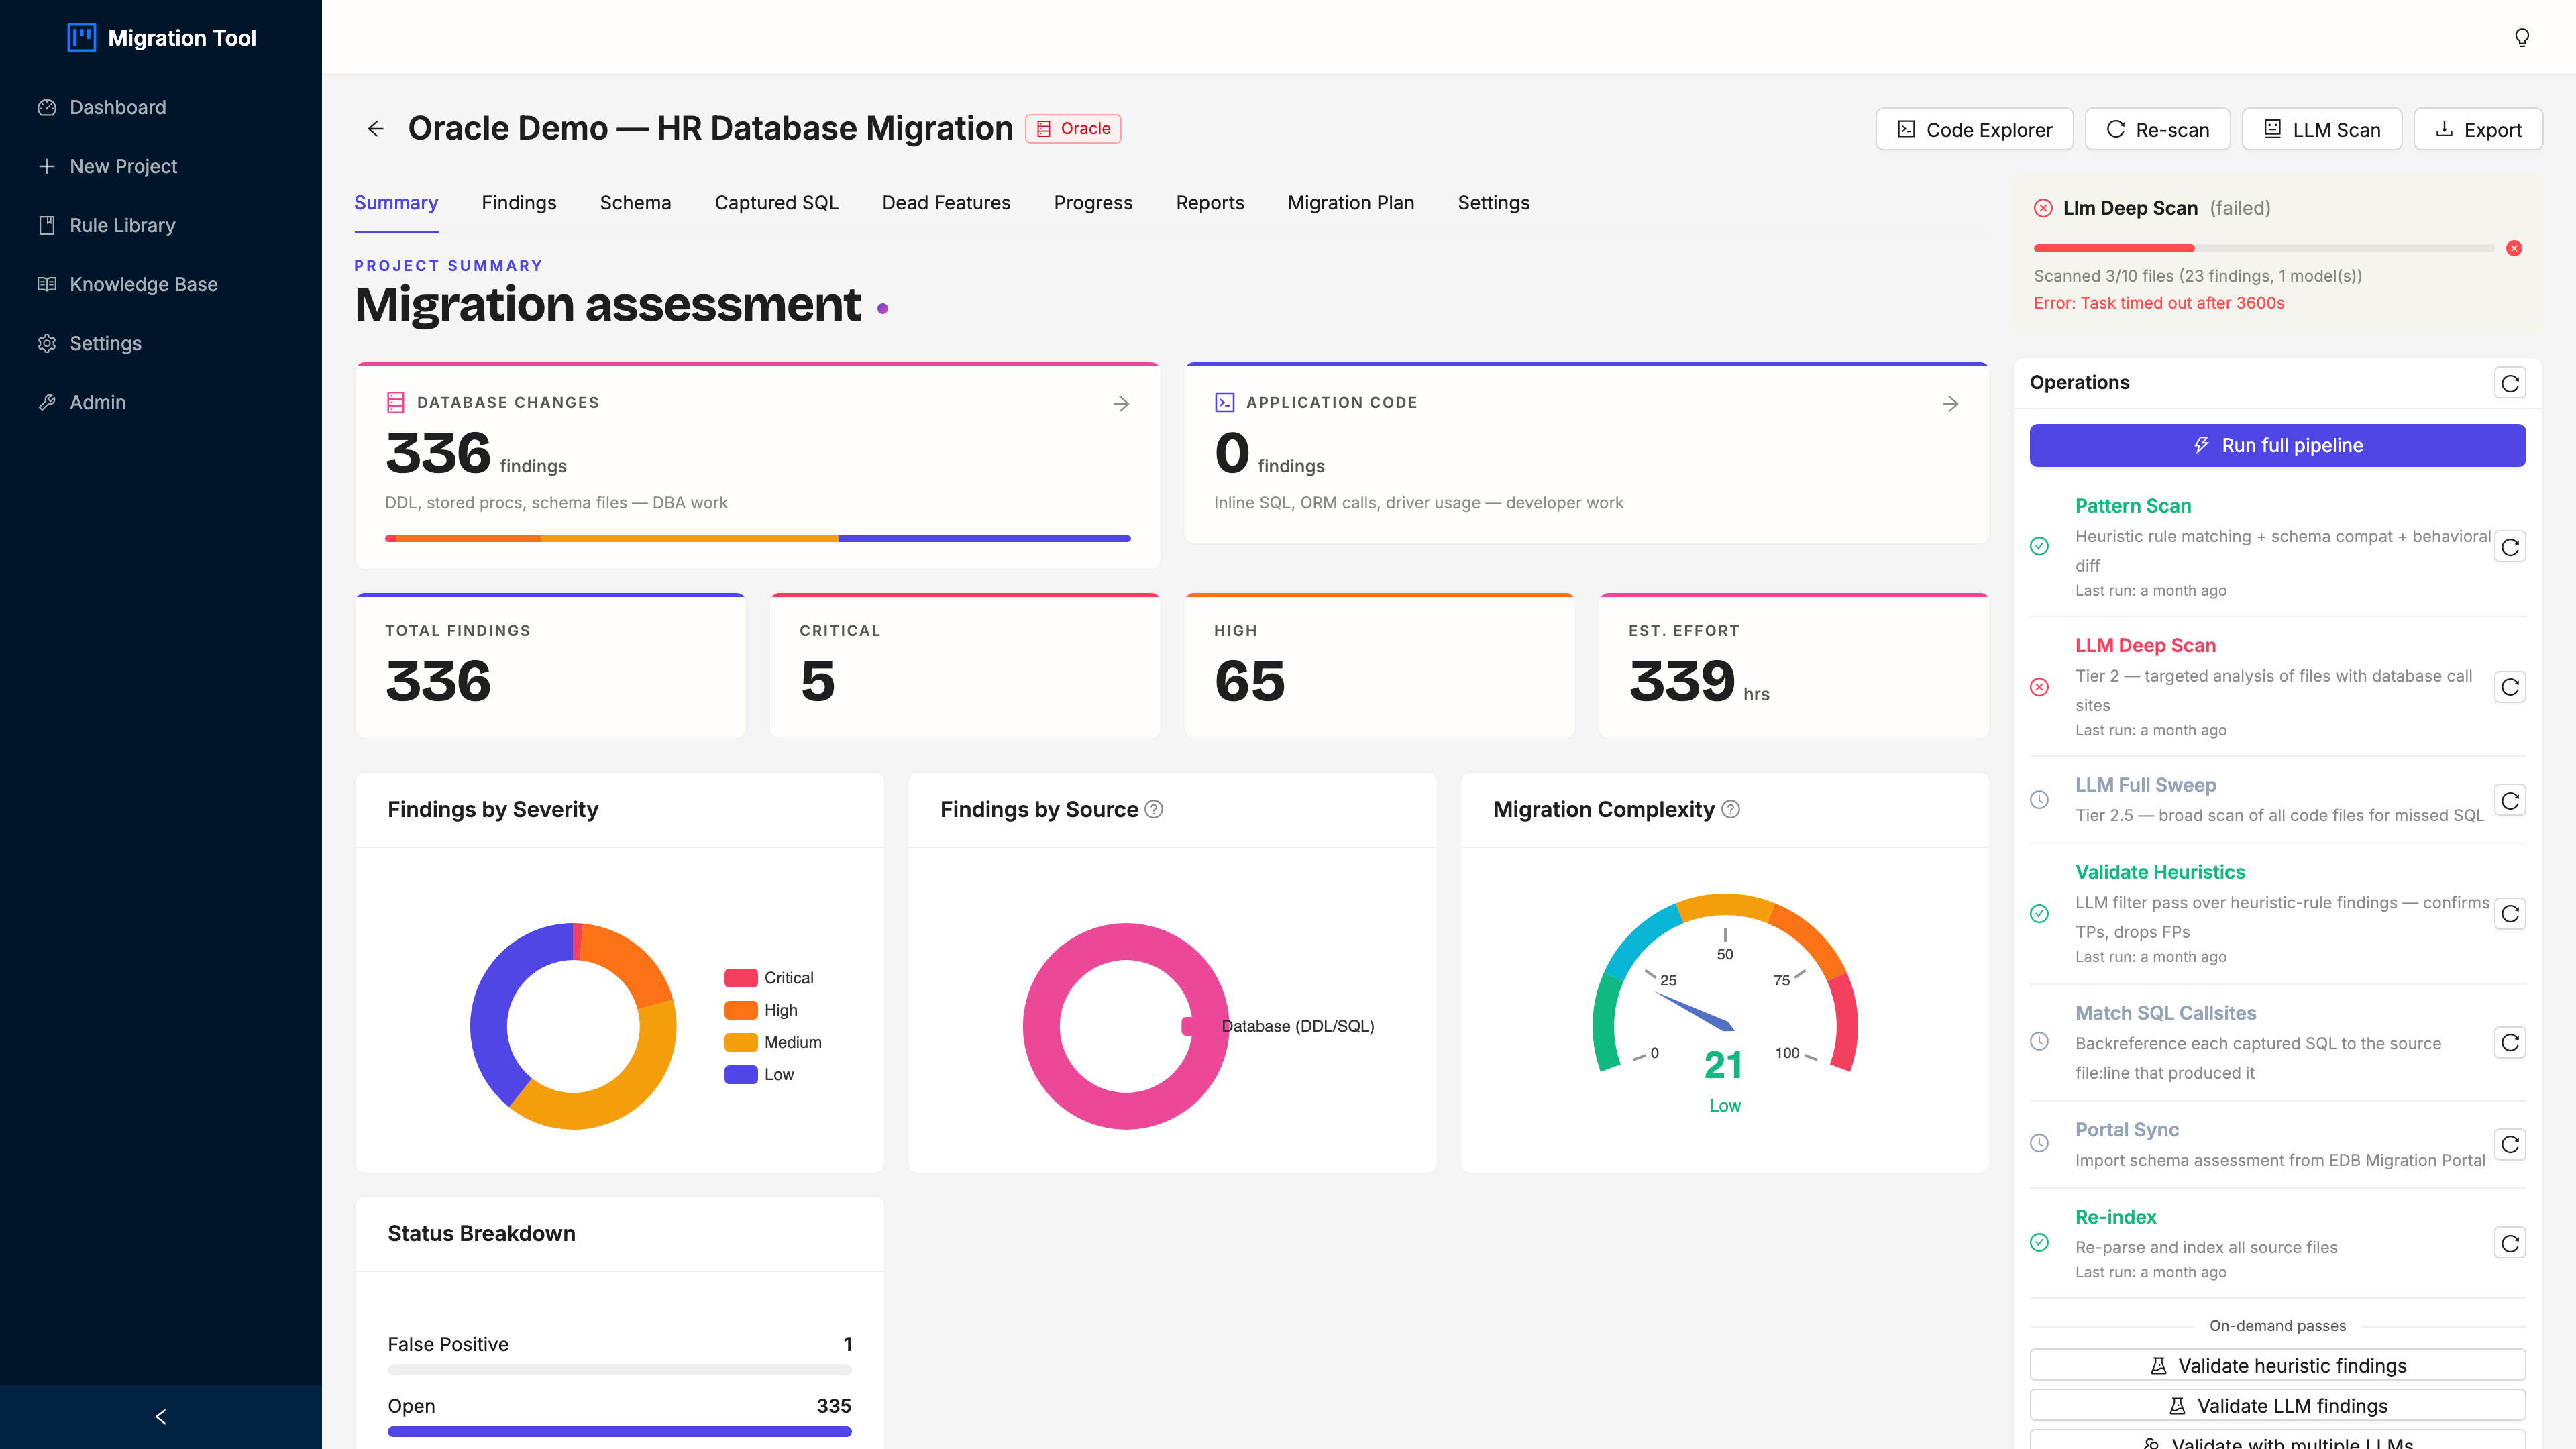
Four things to read here:
- Migration grade. An A-to-F letter grade from the ratio of critical and high findings to the total. It’s a gut-check, not gospel; a “C” with 5 nasty criticals is a very different project than a “C” with 200 trivial type swaps.
- Severity breakdown. Critical, high, medium, low. The HR demo lands at 5 critical, 65 high, 134 medium, 132 low.
- Category breakdown. PL/SQL (89), SQL syntax (87), schema (82), schema compatibility (19), best practices (25), behavioural (10). That PL/SQL number is the one that should make you sit up.
- Estimated effort. Total hours across all findings. It’s how you turn “the migration” into a number a budget meeting understands.
The right sidebar carries the Operations Panel (re-scan, LLM scan options) and live Task Progress.
Step 3: Findings
Click the Findings tab for every compatibility issue the scanner caught.
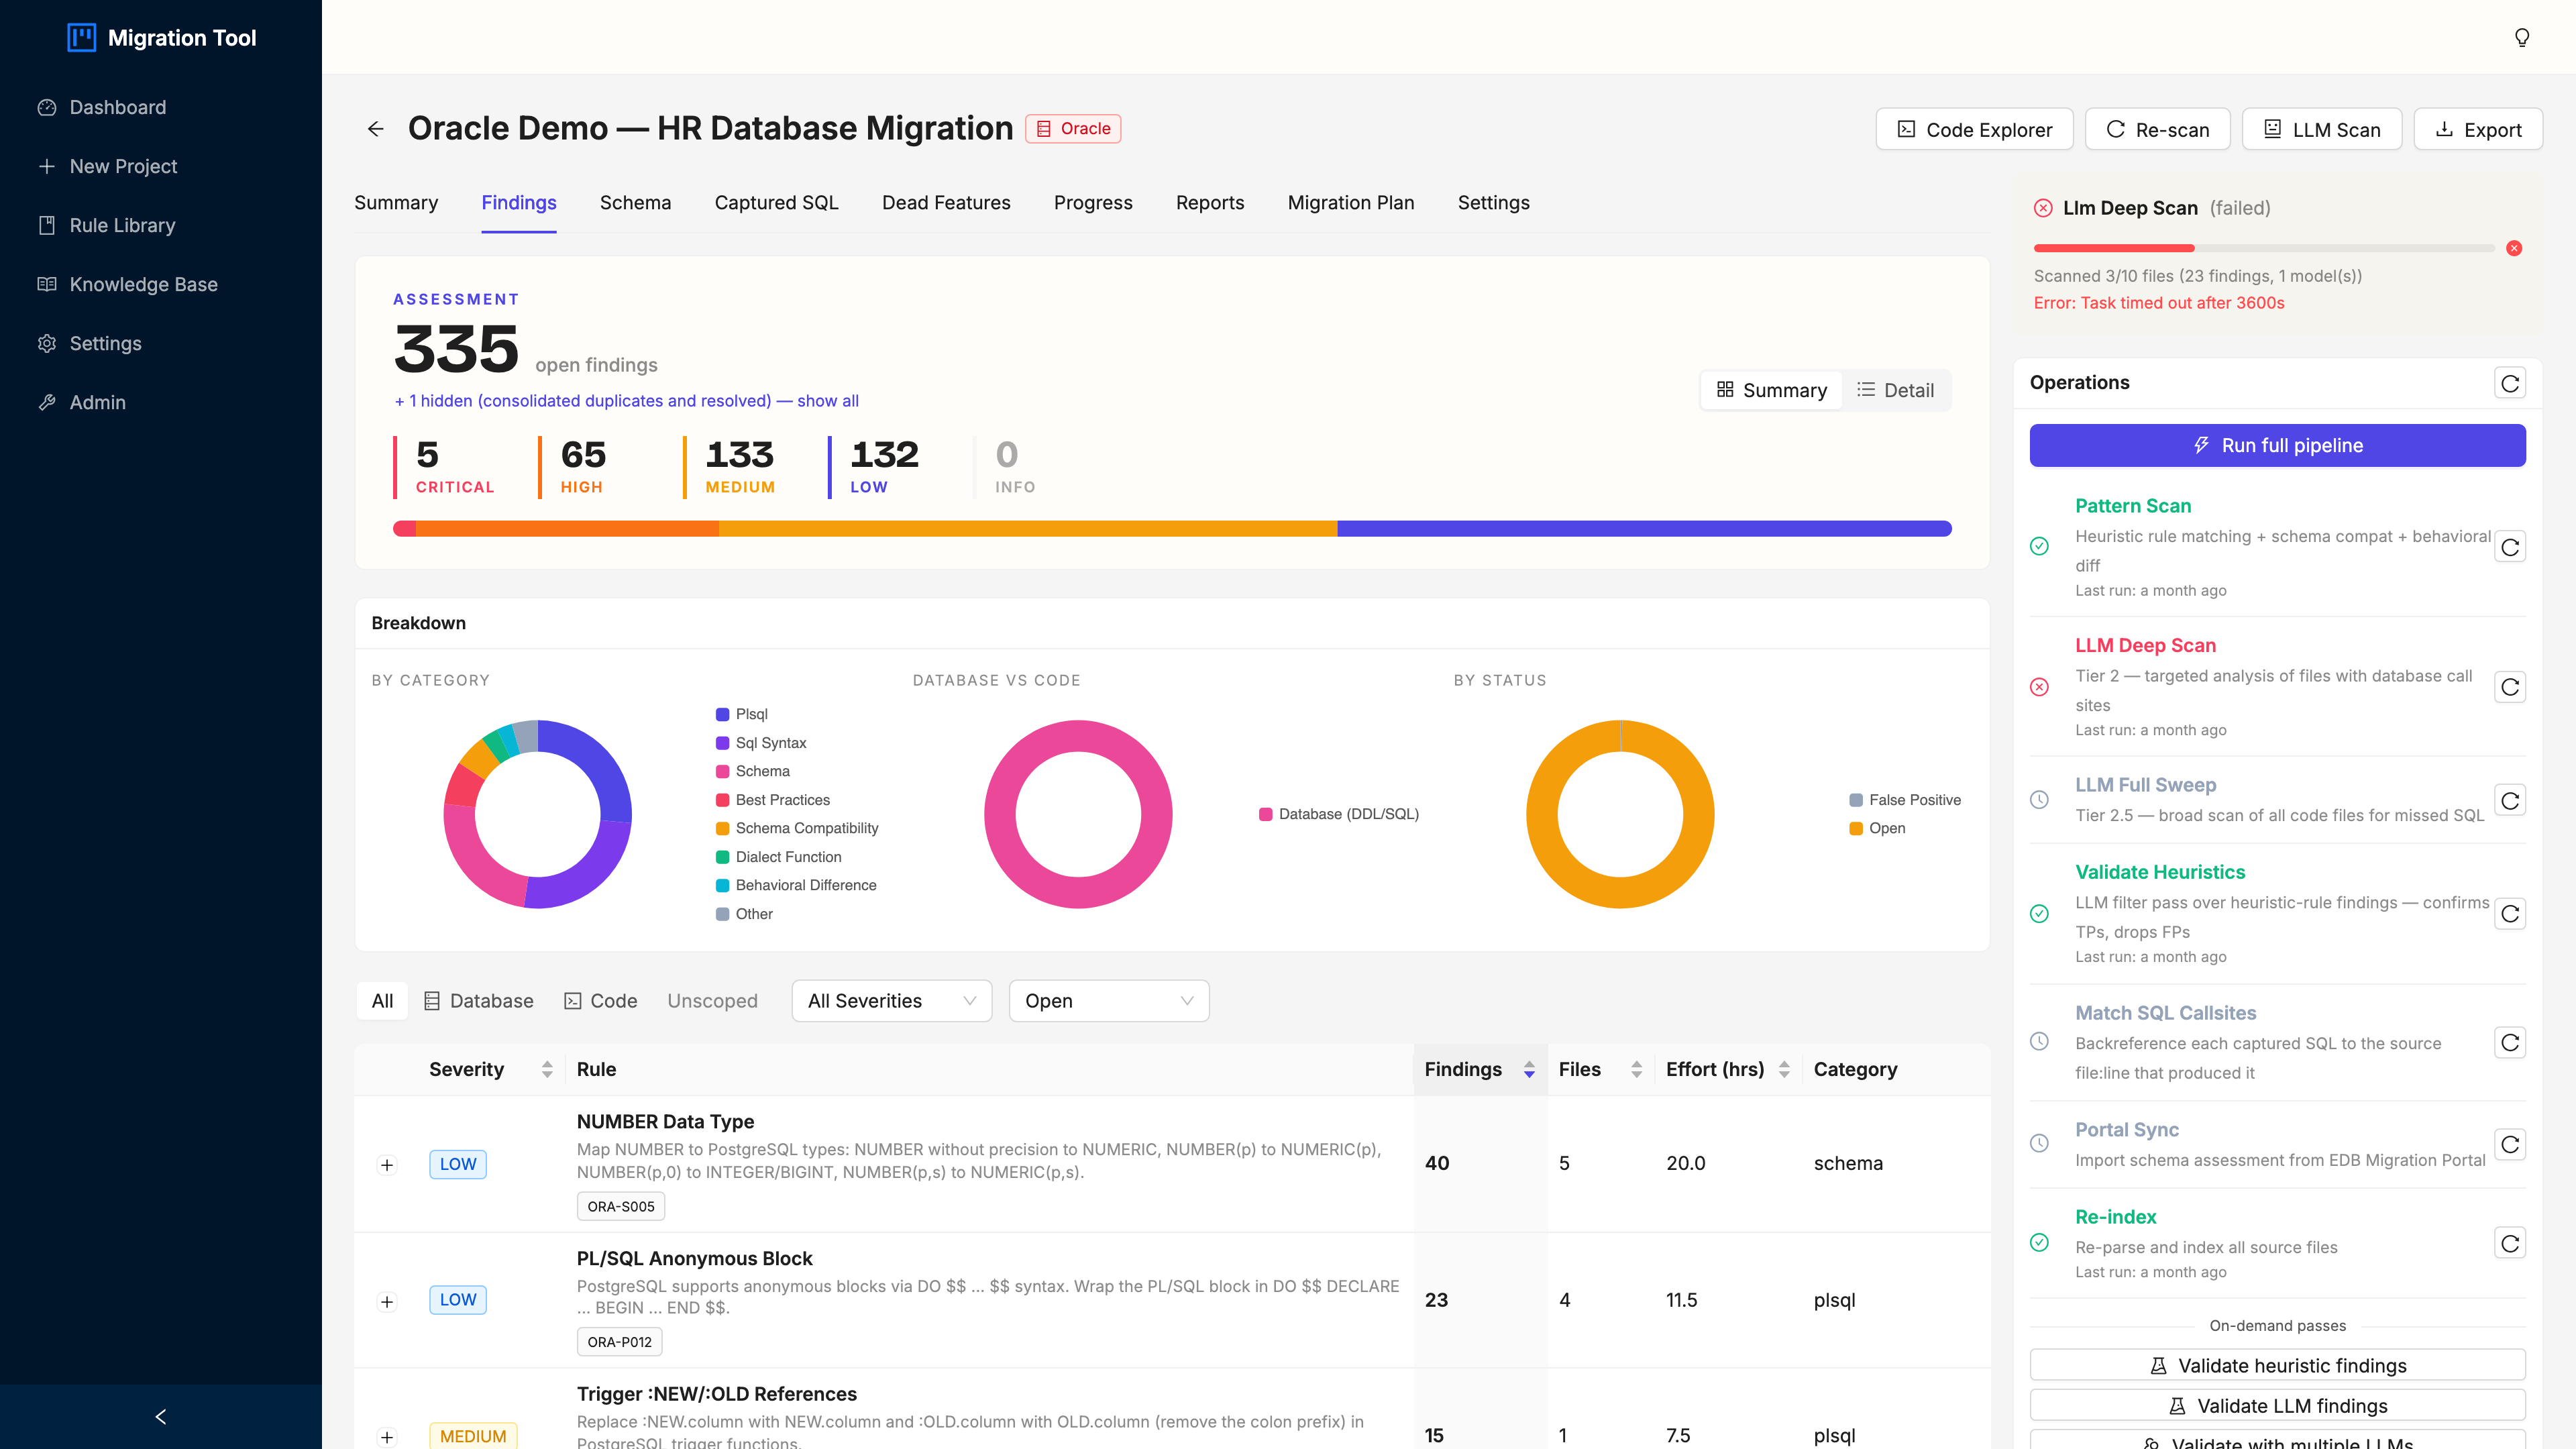
It opens in Summary mode: findings grouped by rule, with the rule name, severity, file count, and total occurrences. The HR demo produces 336 findings across a pile of distinct rules, and grouping them is the difference between a plan and a panic.
The ones that matter most:
| Rule | Severity | Count |
|---|---|---|
| PL/SQL PACKAGE and PACKAGE BODY (ORA-P013) | Critical | 4 |
| PRAGMA AUTONOMOUS_TRANSACTION (ORA-P007) | Critical | 1 |
| Oracle-Style Transaction Control (ORA-B011) | High | multiple |
| VARCHAR2 type usage | Low | multiple |
| NUMBER type usage | Low | multiple |
Three controls do most of the work: the Summary / Detail toggle (top-right) flips between grouped and flat views, the severity chips and category dropdown filter the noise, and the expand arrow on any rule row shows its individual findings without leaving the summary. Start filtered to Critical. Everything else can wait.
Step 4: Finding Detail
Click any finding row in Detail view to open the Finding Detail drawer. This is where an assessment stops being a number and starts being instructions.
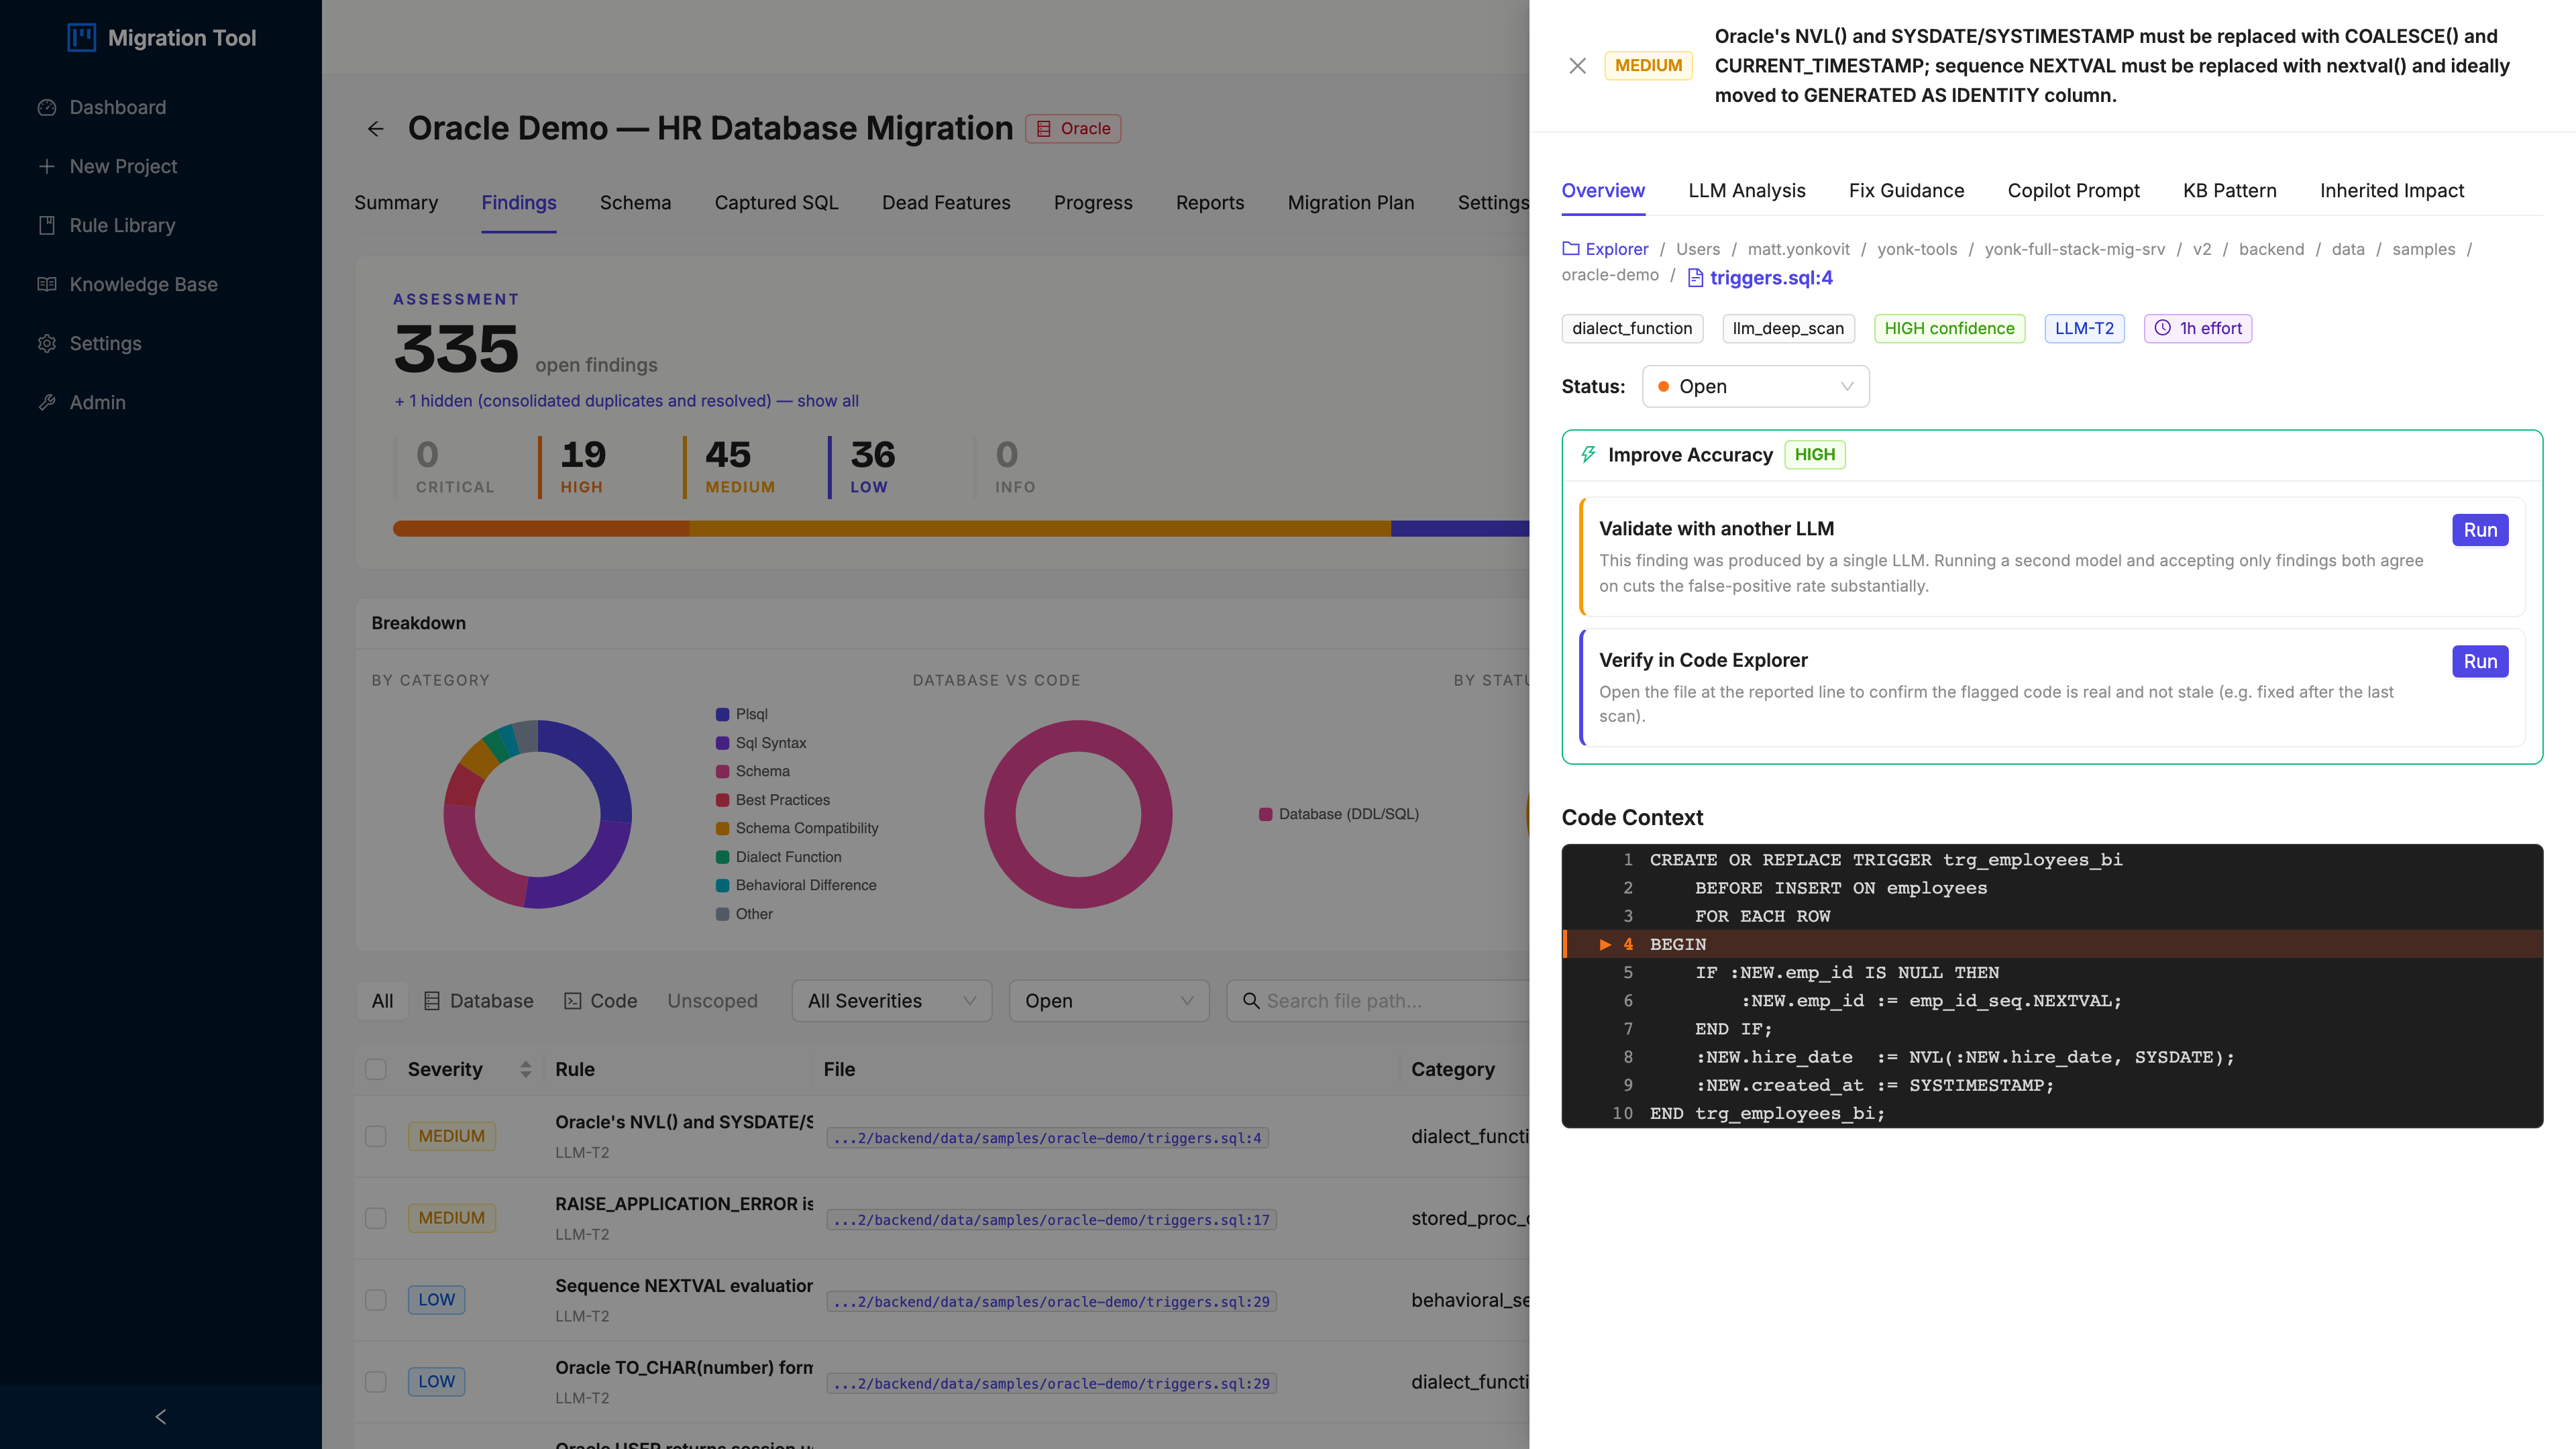
The drawer gives you:
- Rule ID and name, e.g.
ORA-P013: PL/SQL PACKAGE and PACKAGE BODY - Severity and category (critical / plsql)
- Affected file and line, the exact spot in the source
- Code context, the offending lines highlighted
- PostgreSQL fix, the recommended remediation (for packages: split them into individual functions and procedures in a dedicated schema)
- EDB EPAS note, any EPAS-specific compatibility shortcut
- Effort estimate, hours per finding type (roughly 8h per PL/SQL package, which is how 4 packages becomes a real line item)
Close it with the × or Escape, then keep moving.
Step 5: Schema Compatibility
Click the Schema tab for every object Swordfish pulled from the source, with per-column compatibility analysis.
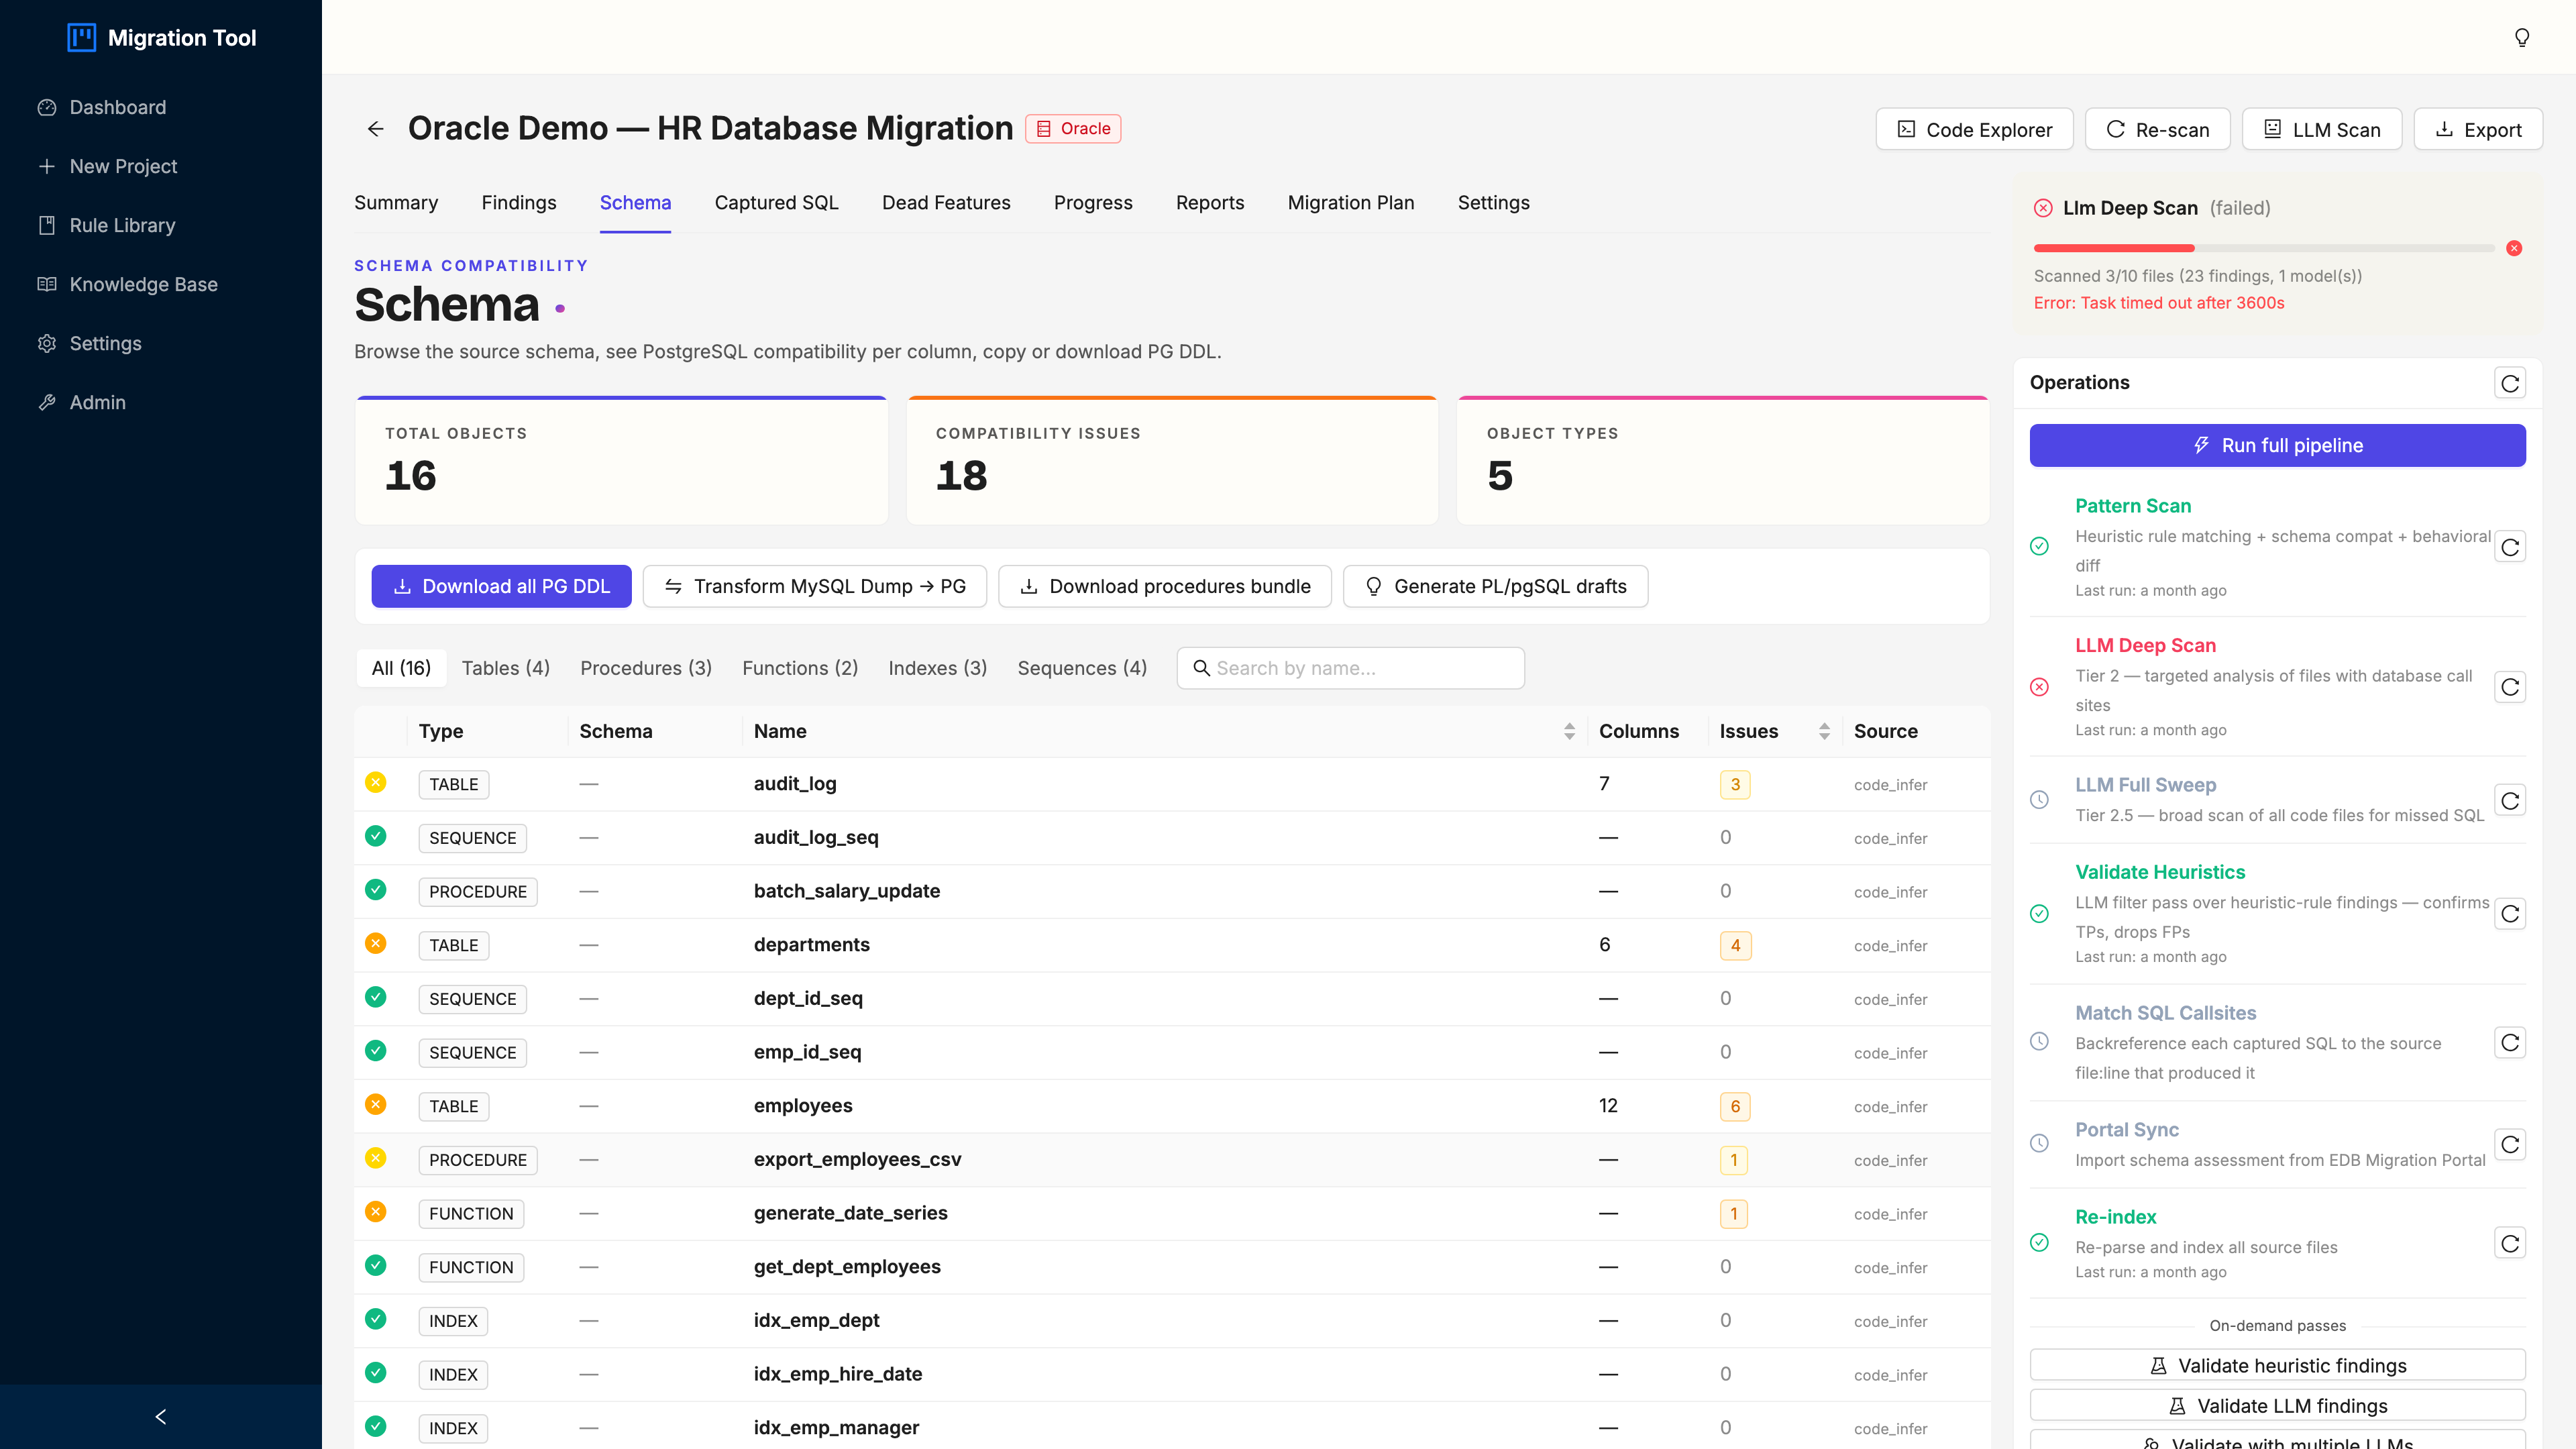
Each object shows its type (TABLE, VIEW, PROCEDURE, FUNCTION, TRIGGER, PACKAGE) and a compatibility status: green is auto-convertible, amber needs a rewrite, red is unsupported. Expand any table for the column-level type mappings (NUMBER(20) becomes BIGINT, VARCHAR2(50) becomes VARCHAR(50), CLOB becomes TEXT).
The HR demo is a representative mess on purpose: Oracle types (NUMBER, VARCHAR2, CLOB, BLOB, DATE), triggers, packages, and PL/SQL procedures. Real Oracle schemas look exactly like this.
Hit Export PostgreSQL DDL for a *_pg.sql scaffold. It’s a runnable starting point, not a finished schema. Load it on a local Postgres and start tightening.
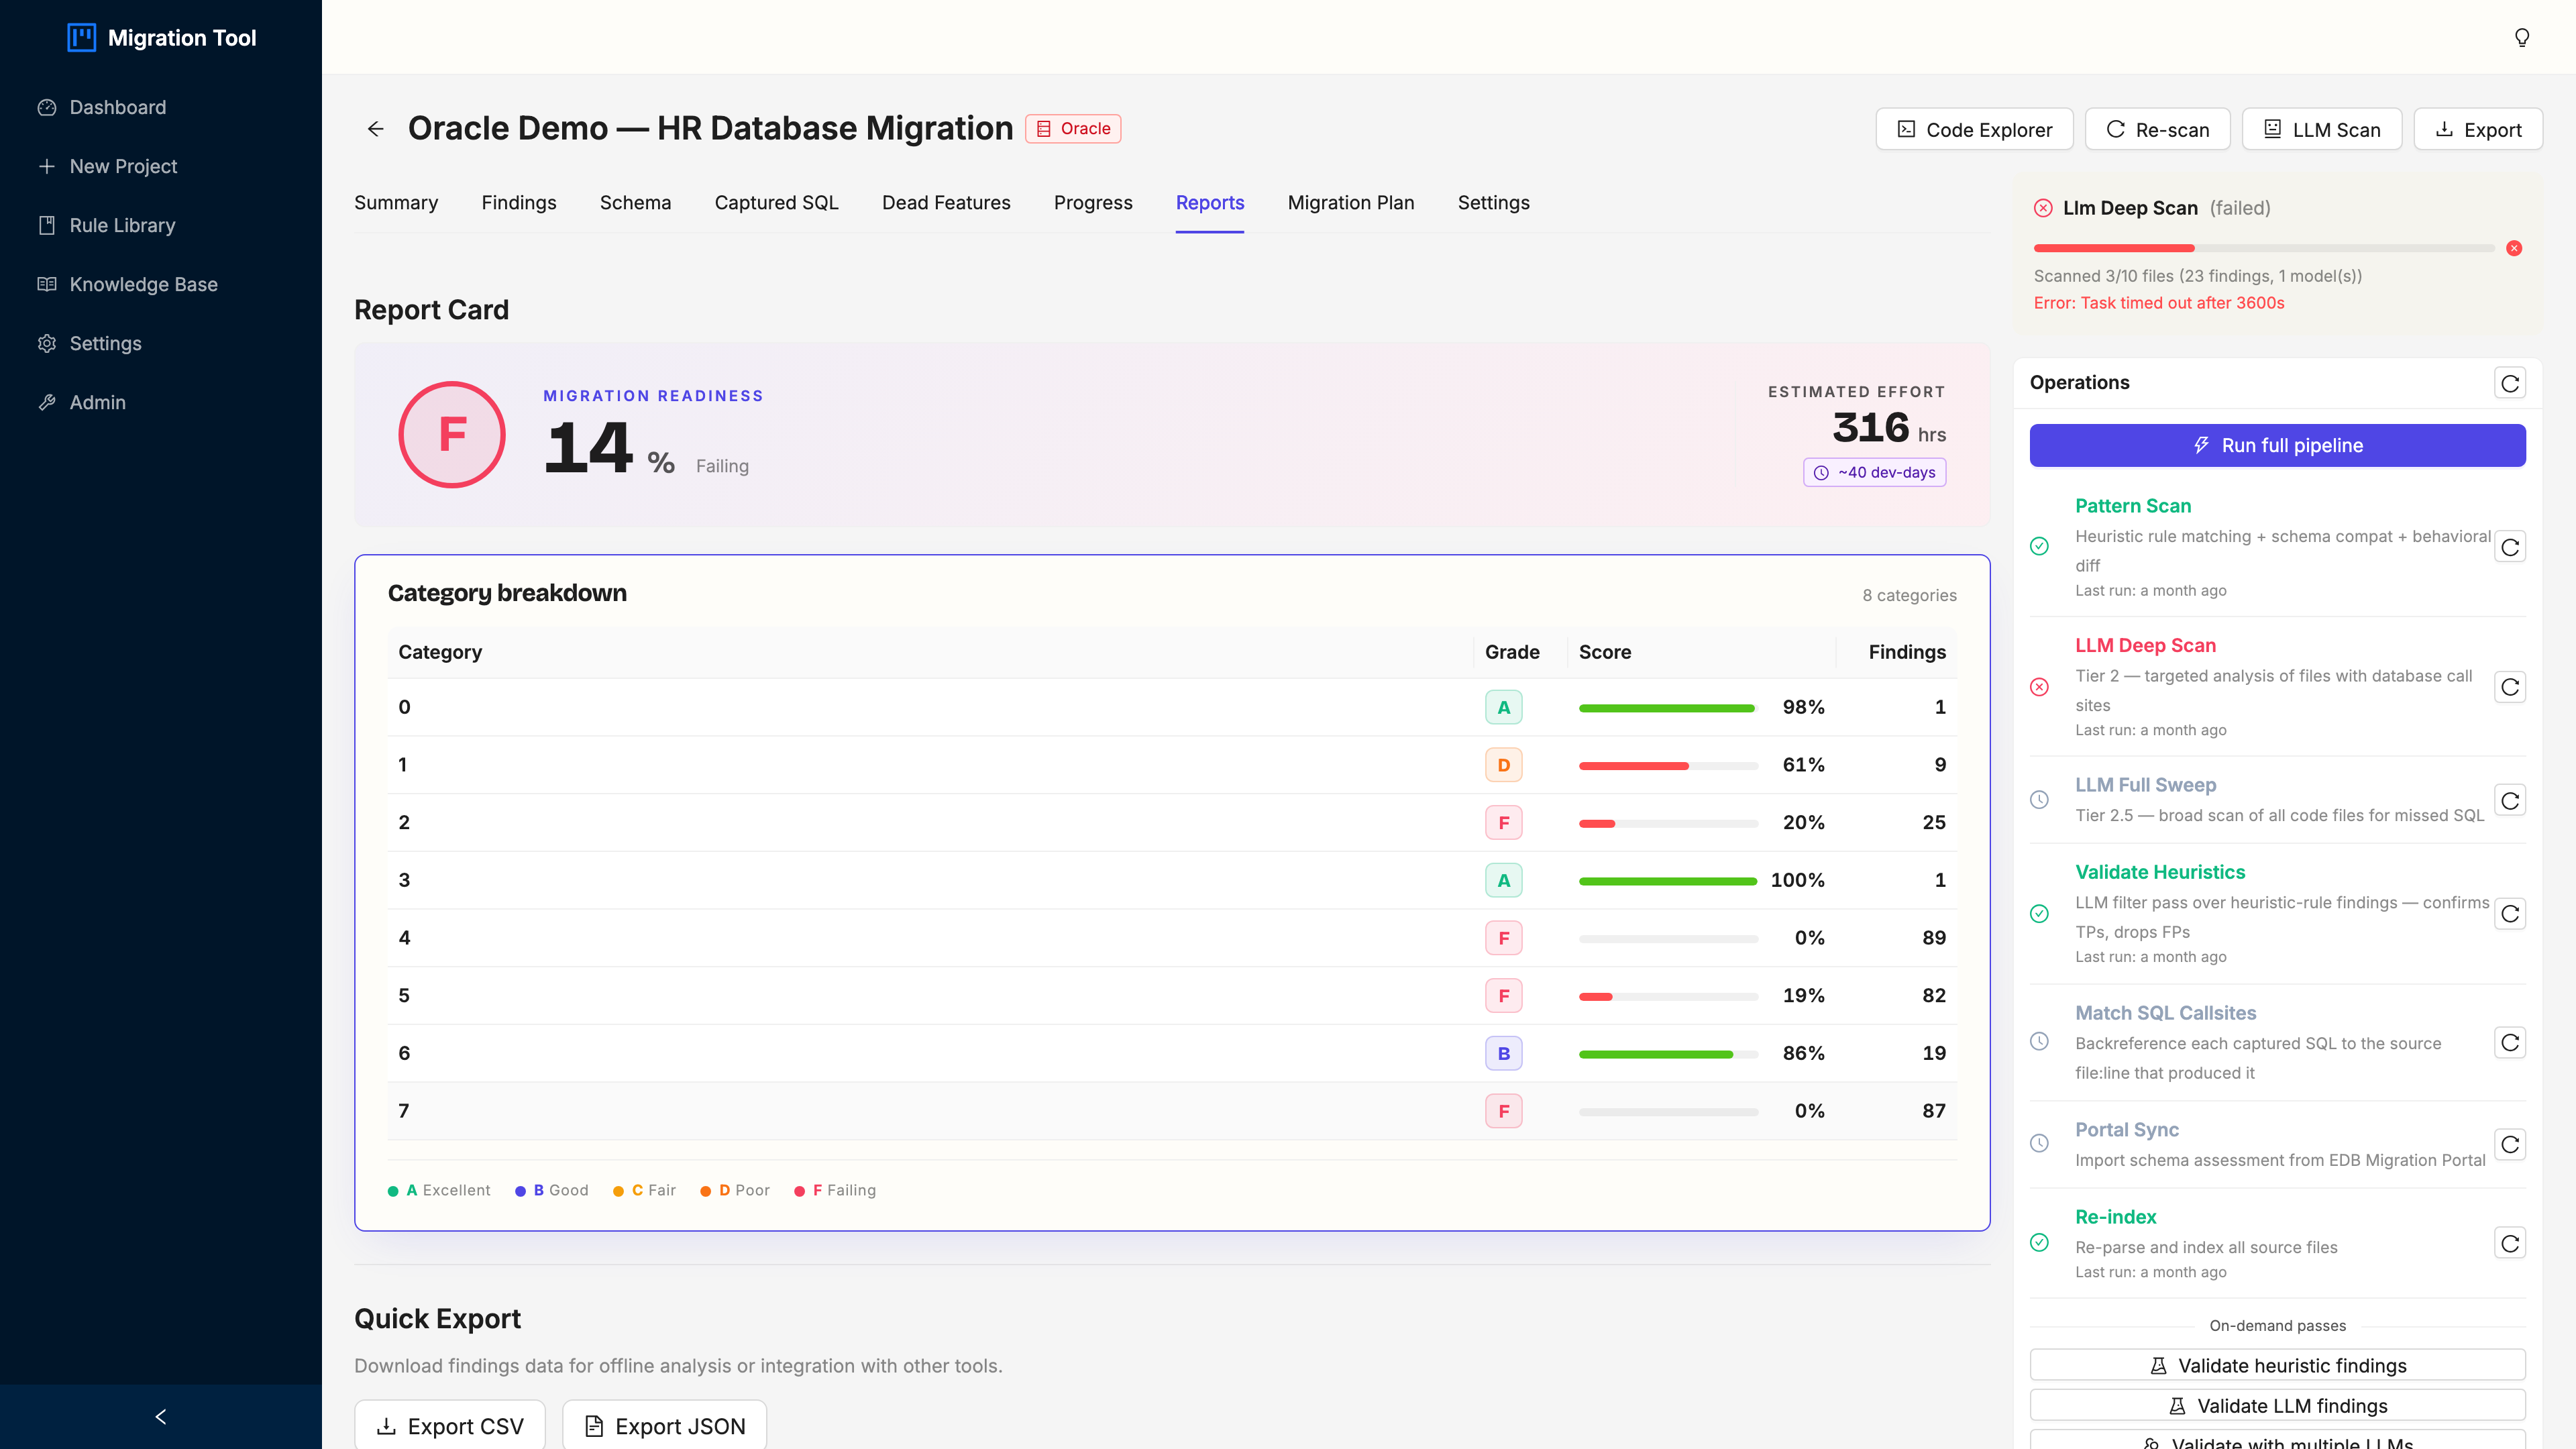
Step 6: Reports
Click the Reports tab to get your assessment out of the browser and into the hands that need it.
| Format | What it’s for |
|---|---|
| Findings CSV | Severity, category, file, line, and fix guidance. The spreadsheet for stakeholder review. |
| Findings JSON | Machine-readable full export. Pipe it into CI or your own tooling. |
| Migration Guide (LLM) | AI-generated remediation plan grouped by category (needs LLM_ENABLED=true). |
Click an export button and the file lands in your browser.
What happens next
You’ve got the assessment. The order I’d work it:
- Kill the criticals first. The 5 criticals in the HR demo are PL/SQL packages and an autonomous transaction. No PostgreSQL equivalent, no shortcut, manual rewrite. Budget 32 to 40 hours and do them while everyone’s fresh, not in week six.
- Batch the auto-convertible schema stuff. Most of the 336 findings are low-severity type mappings (
VARCHAR2toVARCHAR,NUMBERtoNUMERICorBIGINT). A migration script handles the bulk; the DDL export is your scaffold. - Re-scan. Apply the fixes, click Re-scan on any project tab, and watch the counts fall. That number dropping is the only honest progress bar a migration has.
- Lean on EPAS where it pays. Targeting EDB Postgres Advanced Server? Read the EPAS note in each drawer. EPAS natively supports several Oracle features standard Postgres doesn’t (
CONNECT BY, packages, and friends), so a finding that’s a rewrite on community Postgres can be a no-op for you. Pick your target before you estimate. - Hand developers the CSV. Every row has the file, the line, and the exact fix. That’s what turns an assessment into assigned work instead of a document nobody opens.
The web UI and the TUI cover the same ground, so use whichever fits where you work: the browser for review meetings, the terminal walkthrough for the box where your code already lives.
Want it on your own Oracle code instead of the demo? Click + New Project, point it at your repo, and run the scan. The first number it gives you back is usually bigger than anyone guessed. That’s the point.